Basement leaks can be a homeowners worst nightmare, causing water damage, mold growth, and potential structural issues. While it may be tempting to call in a professional right away, DIY basement leak repair is not only cost-effective but also achievable with the right tools and know-how.
By taking the time to properly diagnose the source of the leak and using the right materials and techniques, you can fix the problem without making it worse in the process. In this article, we will provide you with expert tips and step-by-step instructions on how to effectively repair basement leaks on your own.
Identifying the Source of the Basement Leak

Identifying the source of a basement leak can often feel like searching for a needle in a haystack. However, there are a few key indicators that can help you pinpoint the culprit.
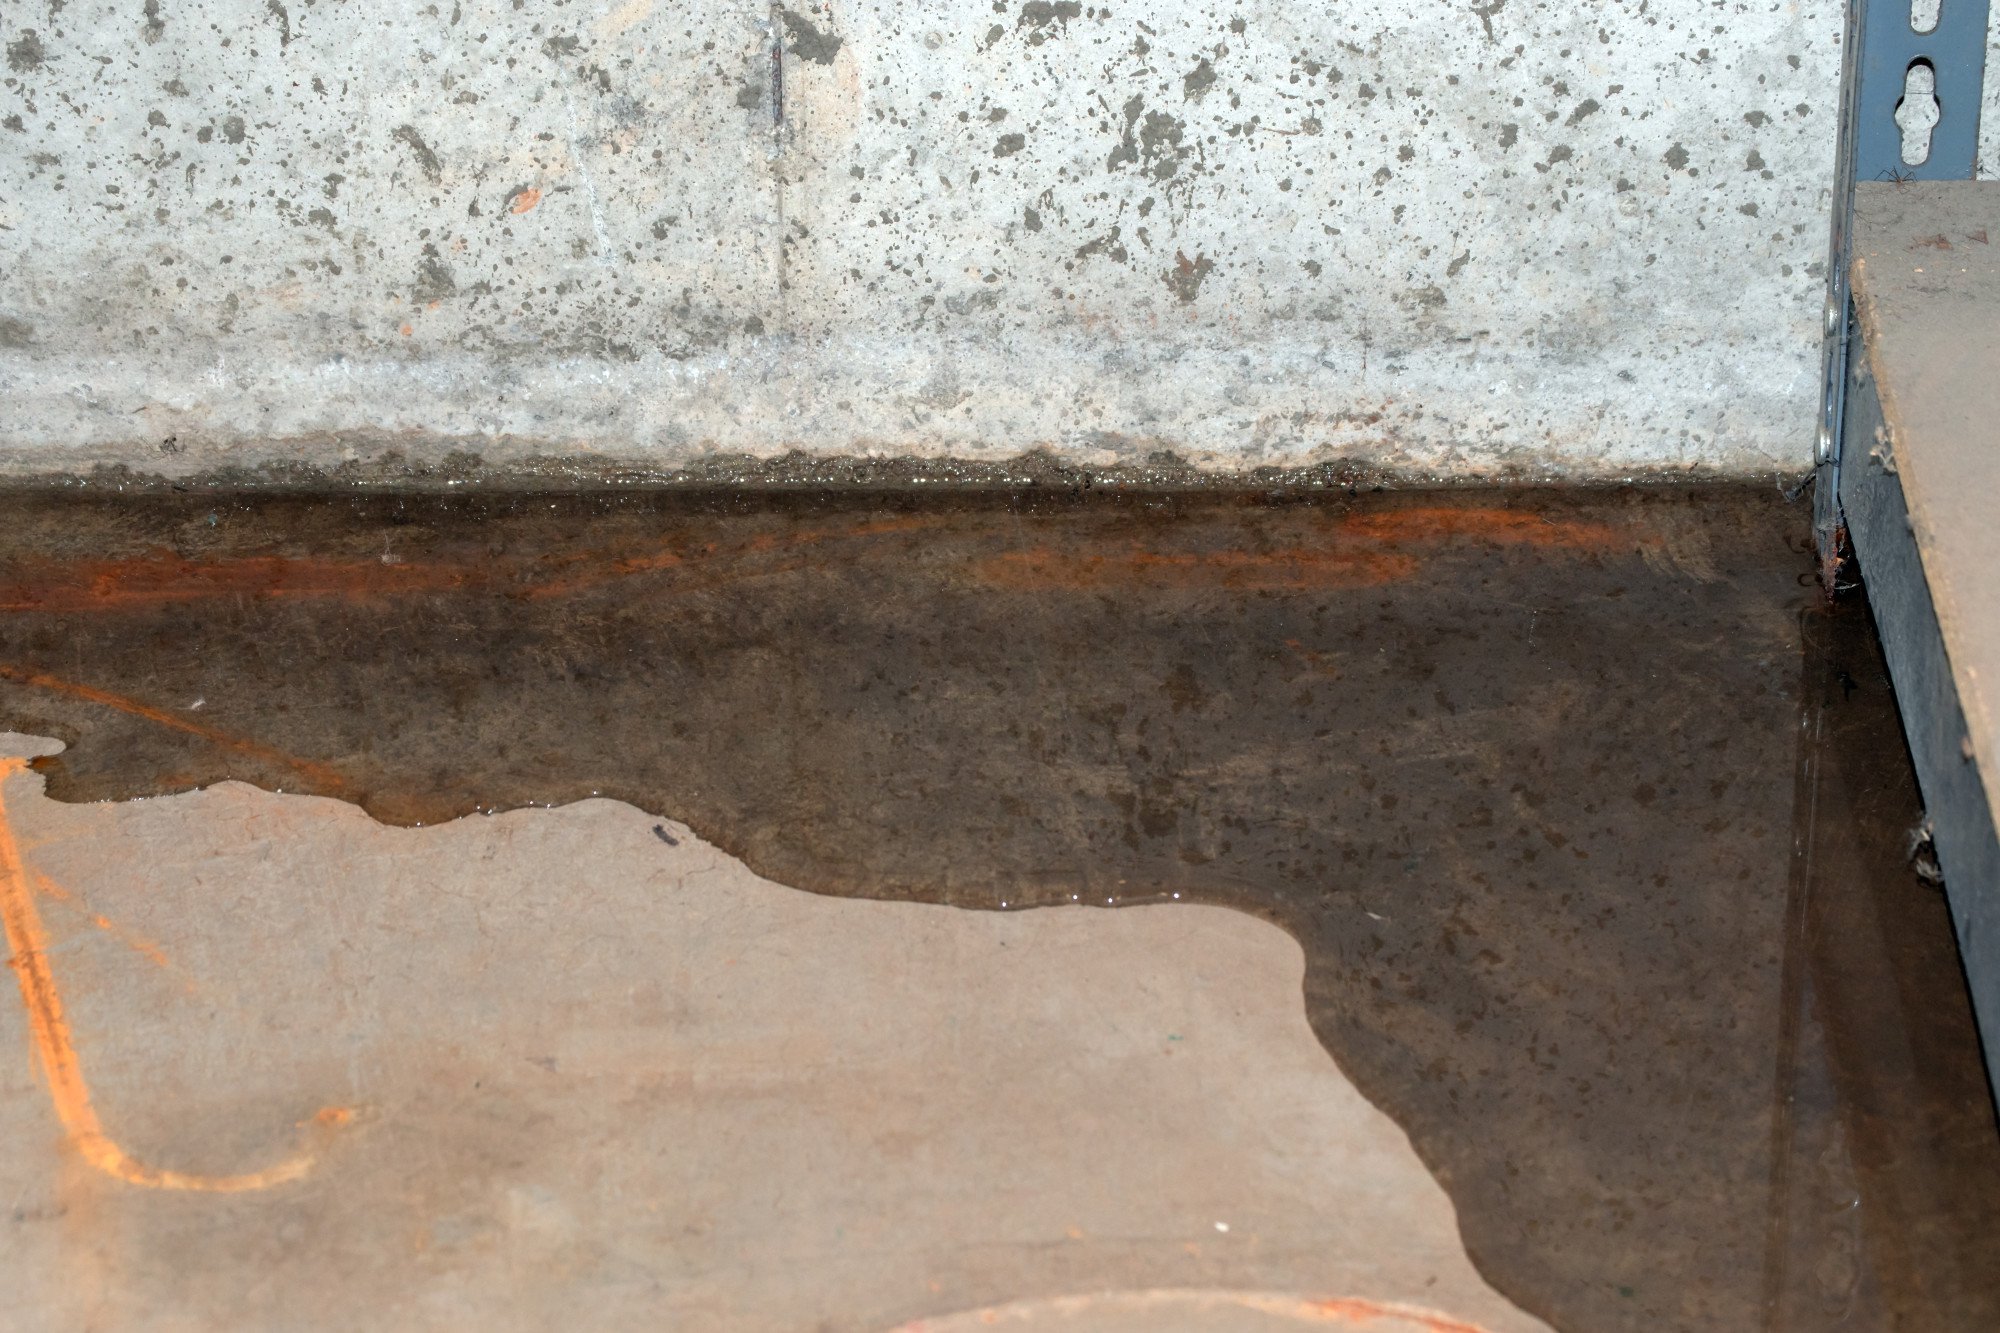
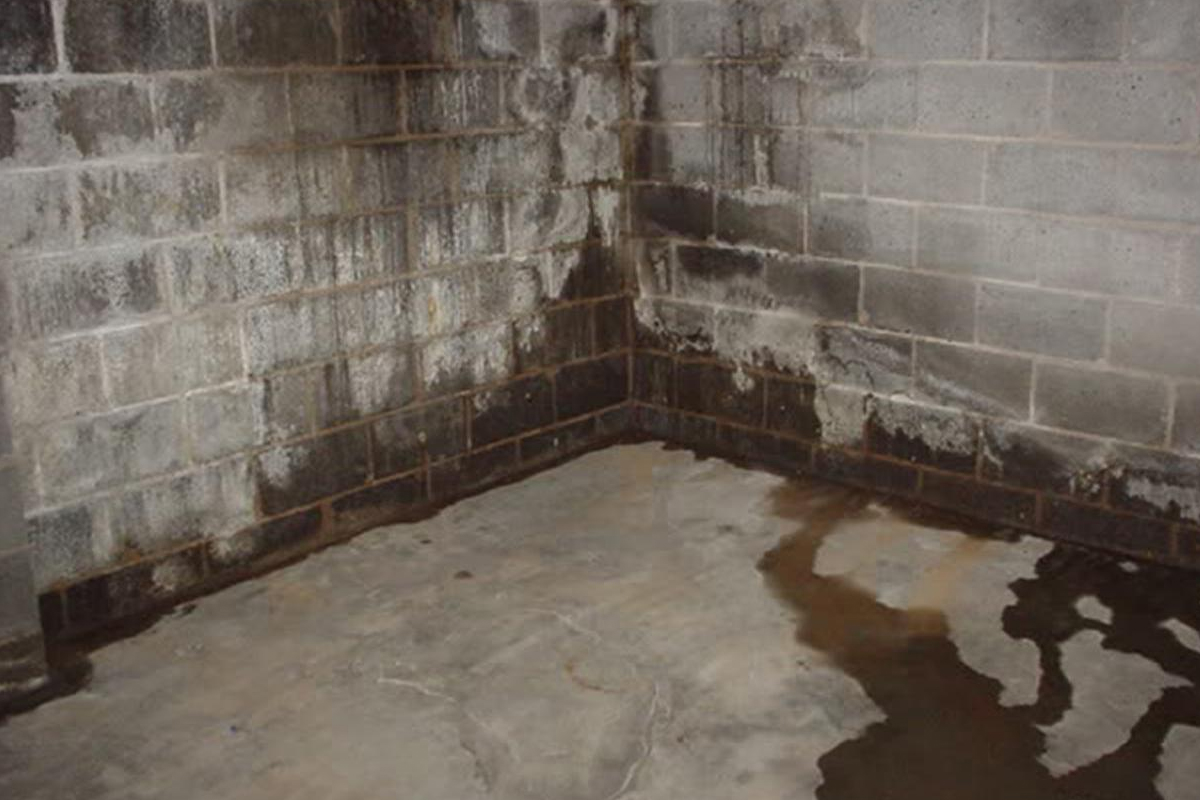
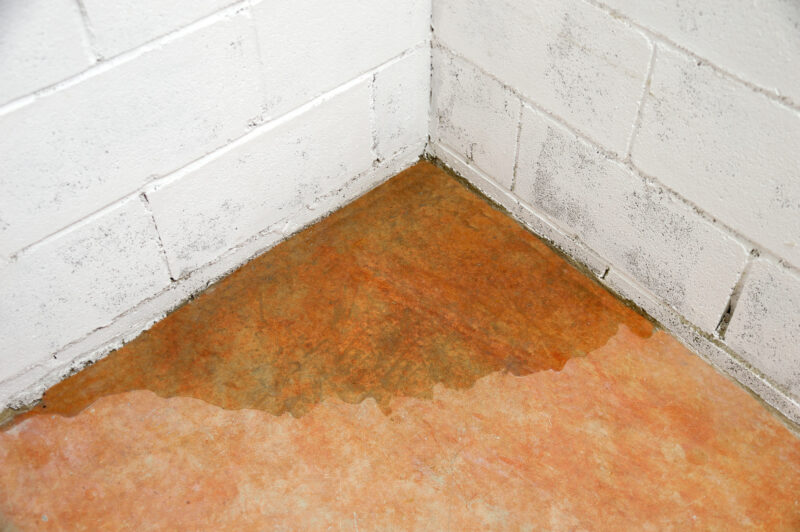
Look for damp or discolored areas on the walls or ceiling, as well as any musty odors that may indicate mold or mildew growth. Check around windows, doors, and pipes for any signs of water infiltration.
Additionally, inspect the foundation for cracks or gaps where water could be seeping in. By carefully examining these potential problem areas, you can begin to narrow down the source of the leak and take steps to repair it before it worsens.
Tools and Materials Needed for DIY Basement Leak Repair

To successfully repair a basement leak on your own, it is important to gather the necessary tools and materials beforehand. You will need items such as waterproof sealant, hydraulic cement, a bucket, gloves, safety goggles, a stiff brush, wire brush, trowel, caulk gun, and a hairdryer.
These tools and materials will allow you to properly diagnose and repair the leak in your basement without causing further damage. It is crucial to have all these supplies on hand before starting the repair process to ensure a smooth and successful outcome.
Preparing the Area for Repair

Before beginning any basement leak repair, it is essential to properly prepare the area to ensure the best outcome. Start by identifying the source of the leak and removing any items or furniture near the affected area.
Clear away any debris, mold, or mildew that may be present to prevent further damage or contamination. It is also important to ensure the area is well-ventilated and dry before starting any repair work.
Take the time to assess the extent of the damage and gather all necessary materials and tools before getting started. By taking the time to prepare the area properly, you can help prevent any further issues and ensure a successful DIY basement leak repair.
Conclusion
In conclusion, addressing basement leaks can be a challenging task, but with the right approach and techniques, it is possible to successfully repair them without making the situation worse. By carefully identifying the source of the leak, using appropriate materials, and employing proper repair methods, homeowners can effectively tackle basement leaks and prevent further damage to their homes.
Remember to ensure proper ventilation to prevent mold growth and consider investing in basement waterproofing to provide long-term protection against leaks. With patience and the right tools, DIY basement leak repair can be a manageable and rewarding project.


